What happens when a classic banana split meets a decadent cheesecake? You get this show-stopping banana split cheesecake cake, featuring rich chocolate and sweet strawberries. Made with simple homemade ingredients and easy baking methods, this dessert is perfect for any family gathering or weeknight treat. Save this idea for your next special occasion and indulge in a slice of heaven. Try it soon and enjoy the ooohs and ahhhs from your loved ones. Pin for later
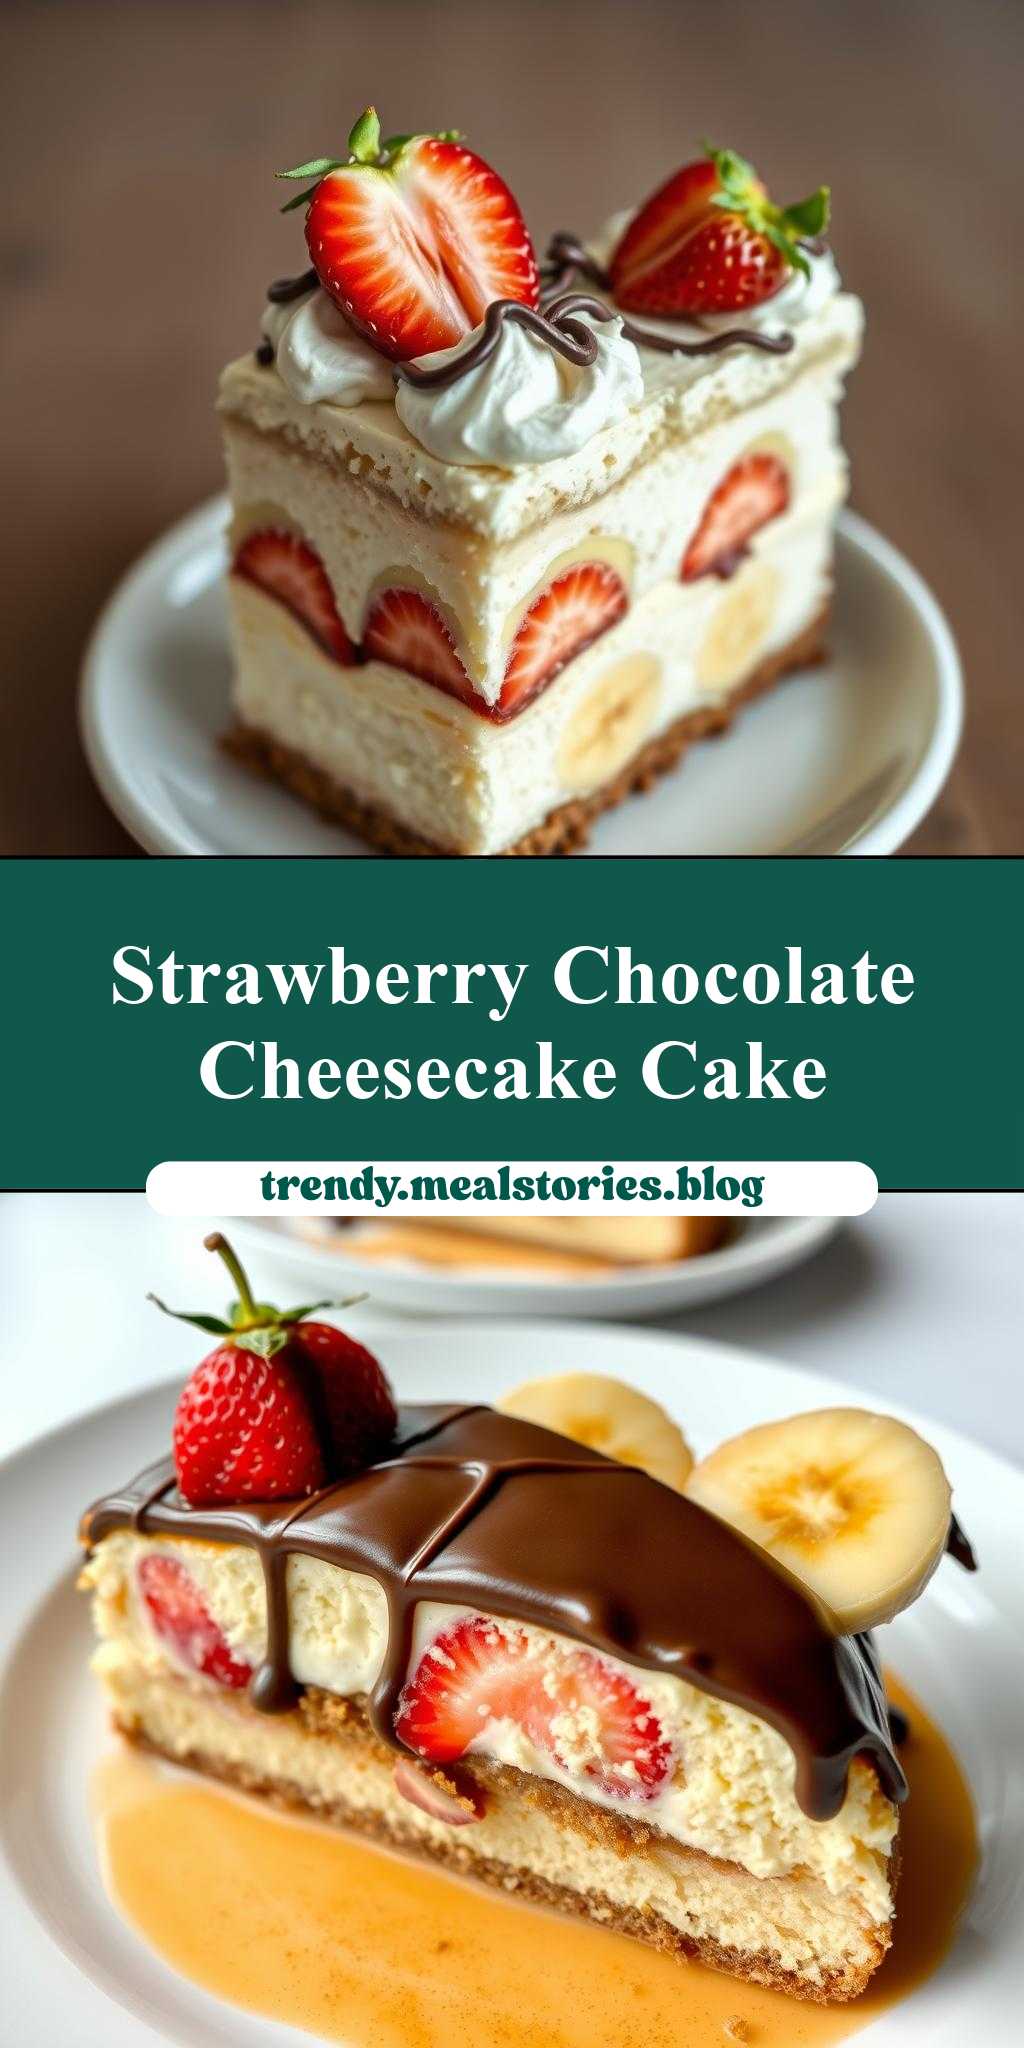
Two Pictures of a Banana Split Cheesecake Cake with Chocolate and Strawberries on Top
Introduction
Imagine a dessert so divine, it combines the classic appeal of a banana split with the richness of cheesecake, all wrapped up in a magnificent cake. The banana split cheesecake cake is a masterpiece that not only tastes incredible but also looks stunning, especially when adorned with chocolate and strawberries on top. This recipe is all about ease, flavor, and creativity, using everyday ingredients to create something truly special. Whether you’re a seasoned baker or just starting out, this dessert is sure to impress your family and friends with its unique blend of textures and tastes.
Why This Works
- Flavor balance and ingredient accessibility: The combination of banana, cheesecake, chocolate, and strawberries provides a perfect balance of flavors, and the ingredients are easily accessible in most supermarkets.
- Ease of preparation: Despite its impressive appearance, this cake is relatively easy to prepare, with straightforward steps that don’t require advanced baking skills.
- Impressive results with minimal effort: The end result is a show-stopping dessert that looks like it was made by a professional, but requires minimal effort and time to prepare.
Key Ingredients
To make this banana split cheesecake cake, you’ll need a few key ingredients. For the cake, you’ll need all-purpose flour, sugar, eggs, and mashed bananas. For the cheesecake layer, you’ll need cream cheese, sugar, eggs, and vanilla extract. The chocolate and strawberry toppings will require melted chocolate and fresh strawberries. Practical substitutions can be made for some ingredients, such as using gluten-free flour for those with dietary restrictions or replacing strawberries with other berries for a different twist.
Instructions
- Step 1: Begin by preheating your oven to 350°F (175°C). Prepare your cake pans and mix the ingredients for the cake layer, combining flour, sugar, eggs, and mashed bananas in a large bowl. Mix well until a smooth batter forms.
- Step 2: Pour the cake batter into the prepared pans and bake for about 20-25 minutes, or until a toothpick inserted into the center comes out clean. Allow the cakes to cool completely.
- Step 3: Prepare the cheesecake layer by mixing cream cheese, sugar, eggs, and vanilla extract in a large bowl until smooth. Pour this mixture over one of the cooled cakes and bake for an additional 20-25 minutes, or until the cheesecake is set.
- Step 4: For the final touches, melt chocolate and spread it over the top of the cheesecake layer. Slice fresh strawberries and arrange them on top of the chocolate. You can also add other toppings like whipped cream, chopped nuts, or sprinkles to resemble a banana split.
Handy Tips
- Make sure to not overmix the batter for either the cake or the cheesecake, as this can lead to a dense final product. Also, don’t overbake, as the cake and cheesecake should be moist and tender.
Heat Control
Heat control is crucial in this recipe, especially when baking the cake and cheesecake layers. The ideal temperature is 350°F (175°C), and timing is key. For the cake, bake for 20-25 minutes, and for the cheesecake, bake for an additional 20-25 minutes after adding it to the cake. Signs of doneness include a toothpick coming out clean from the center and the edges being lightly golden.
Crunch Factor
The crunch factor in this dessert comes from the toppings, such as chopped nuts or sprinkles. To achieve a nice crunch, ensure that any toppings you choose are fresh and not soggy. For the cake and cheesecake, a tender texture is desired, which can be achieved by not overbaking and ensuring the ingredients are at room temperature before mixing.
Pro Kitchen Tricks
- To ensure a smooth cheesecake layer, make sure all ingredients are at room temperature before mixing. This will help prevent lumps and ensure a creamy texture.
- For a clean release from the pan, grease the pans thoroughly before adding the batter and consider using parchment paper at the bottom of the pans.
Storage Tips
- This cake can be stored in the refrigerator for up to 3 days. It’s best to store it in an airtight container to keep it fresh. For longer storage, consider freezing the cake without the toppings and thawing it when you’re ready to serve.
- Reheating is not necessary, but if you prefer your cheesecake at room temperature, you can remove it from the refrigerator about 30 minutes before serving.
Gift Packaging Ideas
If you’re considering gifting this cake, it can be beautifully packaged in a large, decorative cake box or on a cake stand covered with plastic wrap or a dome. Adding a ribbon around the box or a gift tag with a personal message can make it an extra special gift. Consider using edible decorations or writing a message in chocolate on top of the cake for a more personalized touch.
Flavor Variations
- Different spices: You can add a pinch of cinnamon or nutmeg to the cake batter for an extra depth of flavor.
- Creative toppings: Besides strawberries and chocolate, consider using other fruits like blueberries, raspberries, or even caramel sauce for a different twist.
- Ingredient swaps: For a gluten-free version, replace all-purpose flour with gluten-free flour. You can also use different types of cheese for the cheesecake layer, like ricotta for a lighter texture.
Troubleshooting
- Texture problems: If your cake turns out too dense, it might be due to overmixing. If the cheesecake is too runny, it might not have baked long enough.
- Ingredient replacements: If you’re missing an ingredient, consider what can be substituted without altering the flavor or texture too much. For example, you can use yogurt instead of sour cream in some recipes.
- Over/undercooking signs: Keep an eye on the cake and cheesecake while they’re baking. Overcooking can make them dry, while undercooking can result in a soggy texture.
FAQs
- Can I freeze it? Yes, you can freeze the cake without the toppings for up to 2 months. Thaw it in the refrigerator overnight when you’re ready to serve.
- Is it gluten-free? Not in its original form, but you can make it gluten-free by substituting all-purpose flour with gluten-free flour.
- Can I double the recipe? Yes, you can double the recipe if you’re serving a larger crowd. Just ensure you have enough pans and adjust the baking time slightly, as the cakes will be thicker.
Conclusion
Making a banana split cheesecake cake with chocolate and strawberries on top is a fun and rewarding baking project. With its unique combination of flavors and textures, it’s perfect for special occasions or just a sweet treat any time of the year. Don’t be afraid to experiment with different toppings or ingredients to make it your own. Whether you’re a beginner or an experienced baker, this recipe is sure to become a favorite. So go ahead, get baking, and enjoy the delightful experience of creating something truly special!
Two Pictures of a Banana Split Cheesecake Cake with Chocolate and Strawberries on Top
A rich and decadent dessert combining the classic banana split with cheesecake, topped with chocolate and strawberries.
🥘 Ingredients
👩🍳 Instructions
-
1Preheat oven to 350°F (175°C).
-
2Prepare cake pans and mix cake ingredients. Pour into pans and bake for 20-25 minutes or until a toothpick comes out clean.
-
3Prepare cheesecake layer and pour over one of the cooled cakes. Bake for an additional 20-25 minutes or until the cheesecake is set.
-
4Melt chocolate and spread over the cheesecake. Top with sliced strawberries and any other desired toppings.