What makes a cheesecake truly unforgettable? The combination of a moist homemade cheesecake, crunchy Oreo cookies and a rich easy drip glaze makes this rainbow oreo cheesecake drip cake a family favorite, save this idea for your next special occasion
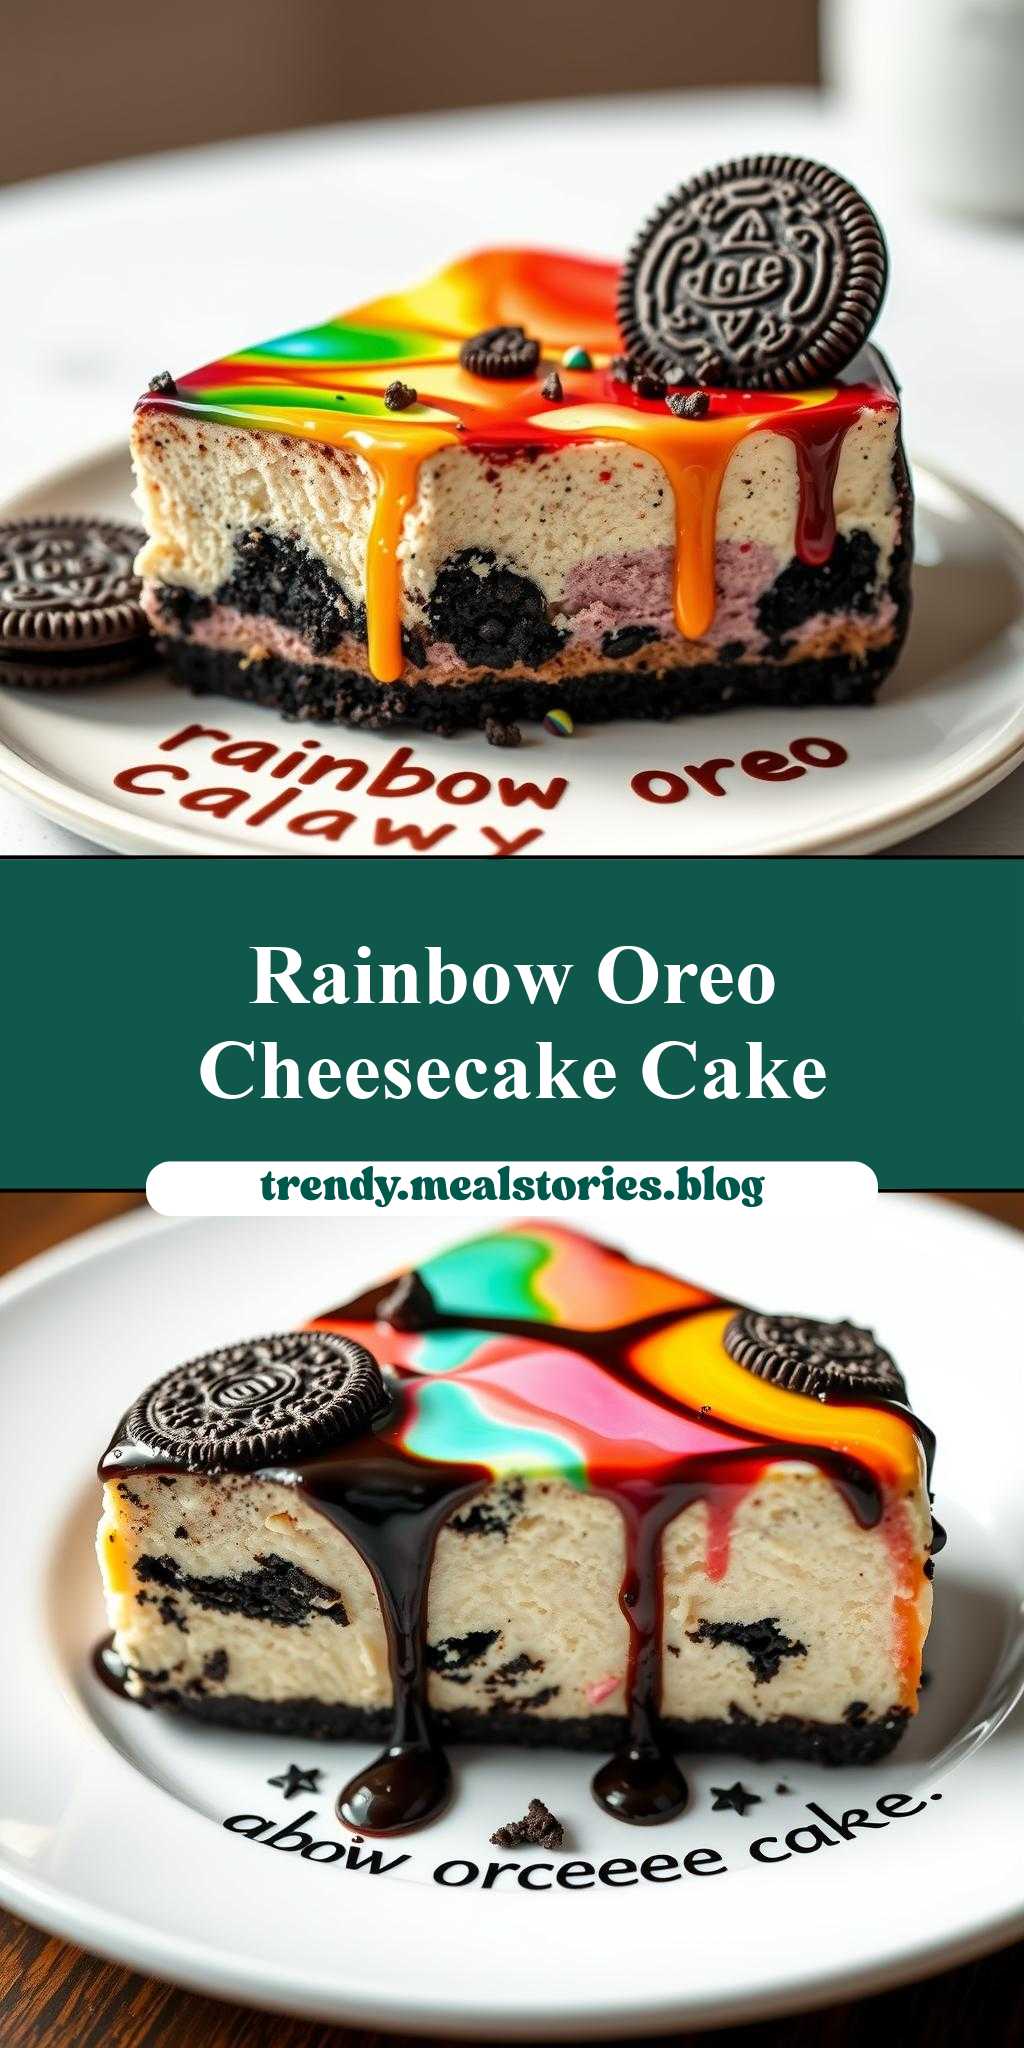
rainbow oreo cheesecake drip cake on a plate with the words, rainbow oreo cheesecake drip cake
Introduction
Imagine a dessert that combines the creamy richness of cheesecake, the crunch of Oreo cookies, and the vibrant colors of the rainbow, all in one stunning package. The rainbow Oreo cheesecake drip cake is a masterpiece of creativity and flavor, perfect for special occasions or simply to brighten up a day. What makes this dessert truly special is its accessibility – using everyday ingredients, you can create a show-stopping cake that’s almost too beautiful to eat. Almost. With its ease of preparation and impressive results, this cake is sure to become a favorite among both beginners and seasoned bakers.
Why This Works
- Flavor balance and ingredient accessibility: The combination of cheesecake, Oreos, and rainbow colors creates a unique and tantalizing flavor profile that’s both familiar and exciting. Plus, the ingredients are easily found in most supermarkets, making it a practical choice for any baker.
- Ease of preparation: Despite its impressive appearance, the rainbow Oreo cheesecake drip cake is surprisingly easy to make. The steps are straightforward, and the ingredients are simple to work with, even for those new to baking.
- Impressive results with minimal effort: The real magic of this dessert lies in how it transforms simple ingredients into a breathtakingly beautiful cake. With minimal effort, you can create a dessert that’s sure to impress friends, family, and even the most discerning foodies.
Key Ingredients
To make the rainbow Oreo cheesecake drip cake, you’ll need a few key ingredients. These include a package of Oreo cookies for the crust, a mix of cream cheese, sugar, eggs, and vanilla extract for the cheesecake, and a variety of food coloring to achieve the rainbow effect. For the drip, you’ll need some white chocolate and heavy cream. Practical substitutions can be made for some ingredients, such as using a different type of cookie for the crust or substituting the heavy cream with a non-dairy alternative for a lighter version.
Instructions
- Step 1: Begin by preparing your ingredients. Chop the Oreos finely for the crust, and measure out the cheesecake ingredients. Preheat your oven to 325°F (165°C).
- Step 2: Mix the crust ingredients and press them into a springform pan. Bake the crust for about 10 minutes, then let it cool. Next, mix the cheesecake batter and pour it over the cooled crust. Bake for about 50-60 minutes, or until the edges are set and the center is slightly jiggly.
- Step 3: Once the cheesecake is cooled, it’s time to add the rainbow effect. Divide the cheesecake into sections and use food coloring to dye each section a different color of the rainbow. You can also add a layer of whipped cream or buttercream frosting to enhance the colors and texture.
- Step 4: For the final touches, melt the white chocolate and mix it with heavy cream to create the drip sauce. Drizzle the sauce over the top of the cheesecake, allowing it to set before serving. Write the words “rainbow oreo cheesecake drip cake” on the plate in chocolate sauce or icing for a decorative touch.
Handy Tips
- To ensure your cheesecake sets properly, avoid overmixing the batter and make sure the oven is at the correct temperature. For a smoother cheesecake, use room temperature ingredients.
- When adding the rainbow colors, start with a small amount of food coloring and add more as needed, to achieve the desired intensity.
- For a cleaner drip effect, chill the cheesecake in the refrigerator for at least 30 minutes before drizzling with the white chocolate sauce.
Heat Control
If you’re baking the crust or cheesecake, it’s crucial to control the heat to prevent burning or undercooking. Use a thermometer to ensure your oven is at the correct temperature. For doneness, check that the crust is lightly browned and the cheesecake is set around the edges but slightly jiggly in the center.
Crunch Factor
The crunch factor in this dessert comes from the Oreo crust and the texture contrast it provides against the smooth cheesecake. To enhance the crunch, you can also sprinkle some chopped nuts or additional Oreos on top of the cheesecake before adding the drip sauce.
Pro Kitchen Tricks
- Use a water bath to bake the cheesecake, which helps prevent cracking and ensures an even bake.
- For a sharper color definition in the rainbow effect, use gel or paste food coloring instead of liquid.
- To make the white chocolate drip sauce more stable and less prone to melting, add a small amount of shortening like coconut oil or vegetable shortening to the melted chocolate before mixing with heavy cream.
Storage Tips
- Store the cheesecake in the refrigerator for up to 5 days. Let it come to room temperature before serving for the best flavor and texture.
- For longer storage, the cheesecake can be frozen. Wrap it tightly in plastic wrap or aluminum foil and place it in a freezer-safe bag. Thaw frozen cheesecake overnight in the refrigerator before serving.
- Use an airtight container to store leftovers, keeping them fresh for a longer period.
Gift Packaging Ideas
If you’re planning to gift the rainbow Oreo cheesecake drip cake, consider packaging it in a decorative box or on a fancy plate, wrapped with cellophane or plastic wrap to keep it fresh. You can also add a personal touch with a handwritten note or a ribbon around the box. For a more rustic look, use a wooden board or a vintage plate and wrap the cake with twine or a ribbon.
Flavor Variations
- Different spices: Add a pinch of salt or a teaspoon of vanilla extract to the cheesecake batter for added depth of flavor.
- Creative toppings: Instead of the white chocolate drip, try using caramel, hot fudge, or a fruit sauce for a different flavor profile.
- Ingredient swaps: Use different types of cookies for the crust, like chocolate sandwich cookies or wafers, for a unique twist.
Troubleshooting
- Texture problems: If the cheesecake is too dense, it might be overmixed. If it’s too soft, it might not be baked long enough.
- Ingredient replacements: If you don’t have heavy cream, you can substitute it with half-and-half or a non-dairy milk alternative for the drip sauce.
- Over/undercooking signs: Check the cheesecake frequently towards the end of the baking time. If the edges are set and the center is slightly jiggly, it’s done. If it’s too jiggly, bake for a few more minutes.
FAQs
- Can I freeze it? Yes, the cheesecake can be frozen for up to 2 months. Thaw it overnight in the refrigerator before serving.
- Is it gluten-free? The traditional recipe includes gluten due to the Oreos. However, you can make a gluten-free version by using gluten-free cookies for the crust.
- Can I double the recipe? Yes, you can double the recipe to make a larger cheesecake. Just ensure you have a large enough springform pan and adjust the baking time accordingly.
Conclusion
Making the rainbow Oreo cheesecake drip cake is a fun and rewarding baking project that’s sure to delight anyone who tries it. With its unique combination of flavors and textures, and its stunning visual appeal, this dessert is perfect for special occasions or just a Tuesday. Don’t be afraid to experiment and make it your own, whether that means trying different flavors, toppings, or presentation styles. Happy baking, and enjoy every delicious bite of your rainbow masterpiece!
rainbow oreo cheesecake drip cake on a plate with the words, rainbow oreo cheesecake drip cake
A vibrant and delicious dessert combining cheesecake, Oreos, and rainbow colors, perfect for special occasions or everyday delight.
🥘 Ingredients
👩🍳 Instructions
-
1Preheat oven to 325°F (165°C).
-
2Prepare the Oreo crust and bake for 10 minutes.
-
3Mix the cheesecake batter and pour over the cooled crust. Bake for 50-60 minutes or until set.
-
4Cool the cheesecake, then add rainbow colors and the white chocolate drip sauce.
-
5Chill the cheesecake in the refrigerator before serving.