Olive Garden Breadsticks
Introduction
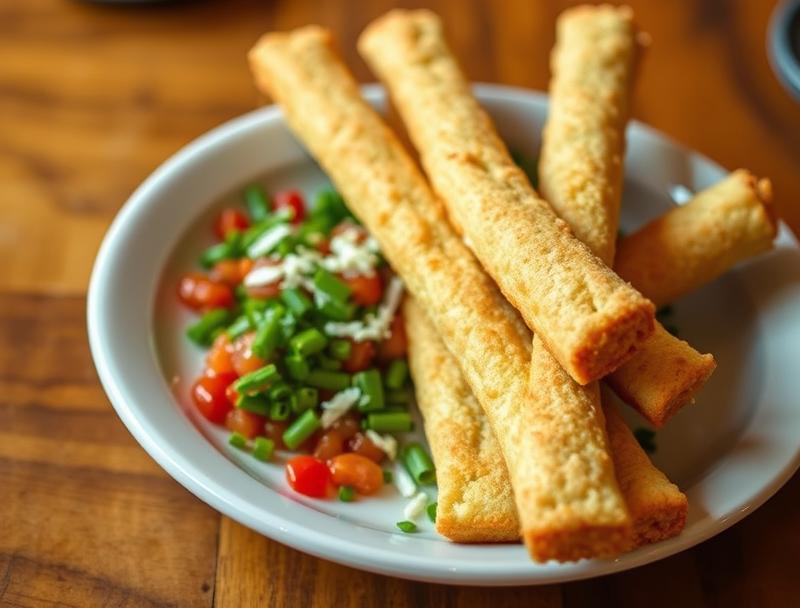
Imagine the warm, inviting aroma of freshly baked breadsticks wafting through your home, reminiscent of a cozy evening at Olive Garden. These iconic breadsticks, known for their soft texture and savory flavor, are surprisingly easy to replicate using everyday ingredients. With a simple recipe that requires minimal effort, you can enjoy the taste of Italy from the comfort of your own kitchen. Whether you’re a fan of Olive Garden or just looking for a delicious appetizer or side dish, this recipe for homemade breadsticks is sure to become a favorite. So, let’s dive into the world of homemade Olive Garden Breadsticks and discover the secrets to making these mouthwatering treats.
Why This Works
- Flavor balance and ingredient accessibility: This recipe strikes a perfect balance between flavors, using common ingredients that are easily found in most supermarkets.
- Ease of preparation: The steps involved in making these breadsticks are straightforward and simple, requiring no advanced culinary skills.
- Impressive results with minimal effort: Despite the simplicity of the recipe, the result is a batch of breadsticks that are not only delicious but also visually appealing, perfect for serving at gatherings or as a snack.
Ingredients
- 2 cups of warm water
- 2 teaspoons of active dry yeast
- 3 tablespoons of olive oil
- 1 teaspoon of salt
- 3 cups of all-purpose flour
- 1 cup of grated Parmesan cheese (optional)
- 1 egg, beaten (for egg wash)
- Garlic butter for brushing (optional)
Instructions
- Step 1: In a large mixing bowl, combine the warm water and yeast. Let it sit for about 5-7 minutes until the yeast is activated and frothy.
- Step 2: Add the olive oil, salt, and 2 cups of flour to the bowl. Mix until a shaggy dough forms. Gradually add the remaining cup of flour, one half cup at a time, until the dough becomes smooth and elastic.
- Step 3: Knead the dough on a floured surface for about 10 minutes, until it becomes smooth and elastic. Place the dough in a greased bowl, cover it with a damp cloth, and let it rise in a warm place for about 1 hour, or until it has doubled in size.
- Step 4: Preheat your oven to 400°F (200°C). Line a baking sheet with parchment paper. Punch down the dough and divide it into 12-15 equal pieces. Roll each piece into a long, thin rope. Place the breadsticks on the prepared baking sheet, leaving about 1 inch of space between each breadstick. Brush with beaten egg for a golden glaze and sprinkle with Parmesan cheese if desired. Bake for 12-15 minutes, or until golden brown.
Handy Tips
- For an extra crispy crust, bake the breadsticks for an additional 2-3 minutes. Keep an eye on them to prevent overbrowning.
- Consider using a pizza stone in the oven to enhance the crust’s crispiness.
- For garlic butter, mix softened butter with minced garlic and brush over the breadsticks before or after baking.
Heat Control
To achieve the perfect bake, it’s crucial to maintain the right oven temperature. Ensure your oven is preheated to 400°F (200°C) and use a thermometer to verify the temperature. The baking time may vary depending on your oven’s performance and the size of your breadsticks. Look for a golden brown color as a sign of doneness.
Crunch Factor
Achieving the right crunch is key to making these breadsticks irresistible. To enhance the crunch, make sure to bake them until they’re golden brown. If desired, you can also broil them for an extra minute to get a crisper exterior, but be cautious not to burn them. The combination of a crispy outside and a soft inside is what makes these breadsticks truly special.
Pro Kitchen Tricks
- For easier shaping, make sure the dough is at room temperature and well-rested after rising.
- Use a pastry brush to apply the egg wash or garlic butter evenly.
- Experiment with different seasonings, such as dried herbs or sesame seeds, for added flavor and texture.
Storage Tips
- Store cooled breadsticks in an airtight container at room temperature for up to 2 days.
- For longer storage, freeze the breadsticks on a baking sheet and then transfer them to a freezer-safe bag or container for up to 2 months. Bake frozen breadsticks in a preheated oven at 350°F (175°C) for about 5-7 minutes, or until warmed through.
- Reheat breadsticks in the oven or microwave until crispy and warm. Be careful not to overheat, as this can make them dry.
Gift Packaging Ideas
If you’re considering gifting these delicious breadsticks, there are several creative ways to package them. Place freshly baked or frozen breadsticks in decorative jars, paper bags, or gift tins. Add a personal touch with ribbons, gift tags, or a handwritten note with the recipe and baking instructions. You could also consider pairing the breadsticks with a bottle of marinara sauce, olive oil, or a block of Parmesan cheese! Whatever method you choose, your gift is sure to be appreciated.
Flavor Variations
- Different spices: Try adding dried oregano, basil, or rosemary to the dough for an Italian twist.
- Creative toppings: Before baking, brush the breadsticks with garlic butter and sprinkle with grated cheese, sesame seeds, or poppy seeds.
- Ingredient swaps: For a gluten-free version, experiment with gluten-free flours. Note that you may need to adjust the ratio of flours and add xanthan gum to help with texture.
Troubleshooting
- Texture problems: If your breadsticks turn out too dense, check that your yeast is active and that you didn’t overmix the dough. If they’re too crispy, they might have been overbaked.
- Ingredient replacements: Always try to use the ingredients listed, but if you need to make substitutions, ensure they’re similar in nature and function to the originals.
- Over/undercooking signs: Keep an eye on your breadsticks while they’re baking. Undercooked breadsticks will be pale and soft, while overcooked ones will be dark brown and hard.
FAQs
- Can I freeze the dough instead of the baked breadsticks? Yes, you can freeze the dough after the first rise. Thaw it overnight in the fridge, then let it come to room temperature before shaping and baking.
- Is this recipe gluten-free? No, this recipe uses all-purpose flour and is not gluten-free. However, you can experiment with gluten-free flours as mentioned in the flavor variations section.
- Can I double the recipe? Absolutely! Just remember to adjust the baking time slightly if you’re baking a larger batch of breadsticks.
Conclusion
Making Olive Garden Breadsticks at home is not only achievable but also enjoyable. With these simple steps and tips, you’ll be on your way to creating delicious, authentic-tasting breadsticks that are sure to please both kids and adults. Don’t be afraid to experiment with different flavors and toppings to make the recipe your own. Share your creations with friends and family, and enjoy the warmth and comfort that comes with baking something special for those you love. Happy baking!
Olive Garden Breadsticks
Homemade Olive Garden Breadsticks recipe, easy to make and deliciously soft with a crispy crust.
🥘 Ingredients
👩🍳 Instructions
-
1Activate yeast in warm water.
-
2Mix dough ingredients and knead until smooth.
-
3Let the dough rise, then shape into breadsticks.
-
4Bake breadsticks in a preheated oven until golden brown.