What’s the perfect treat to make with kids on a weeknight. These peanut butter balls with Rice Krispies are a quick and easy homemade favorite, made with crunchy cereal and creamy peanut butter. Save this idea for a fun family snack to enjoy together.
Peanut Butter Balls with Rice Krispies
Introduction
Imagine a delightful treat that combines the creamy richness of peanut butter with the satisfying crunch of Rice Krispies, all in a bite-sized package that’s both easy to make and fun to eat. These Peanut Butter Balls with Rice Krispies are a creative and delicious way to enjoy a classic flavor combination using everyday ingredients. Perfect for snacking, gift-giving, or as a special treat for any occasion, this recipe is a must-try for anyone with a sweet tooth and a love for simplicity. Whether you’re a seasoned baker or a kitchen novice, the ease and versatility of this recipe make it accessible to everyone.
Why This Works
- Flavor balance and ingredient accessibility: The combination of peanut butter, powdered sugar, and Rice Krispies creates a perfect balance of flavors and textures that is hard to resist. Moreover, the ingredients are easily found in most grocery stores, making this a convenient option for last-minute treats.
- Ease of preparation: This recipe requires no baking and can be prepared in a matter of minutes. The simplicity of mixing, shaping, and chilling makes it a great activity for families or for those looking for a quick dessert solution.
- Impressive results with minimal effort: Despite the simplicity of the recipe, the end result is impressive and visually appealing. The peanut butter balls can be decorated with chocolate, sprinkles, or other toppings to make them even more special and personalized.
Key Ingredients
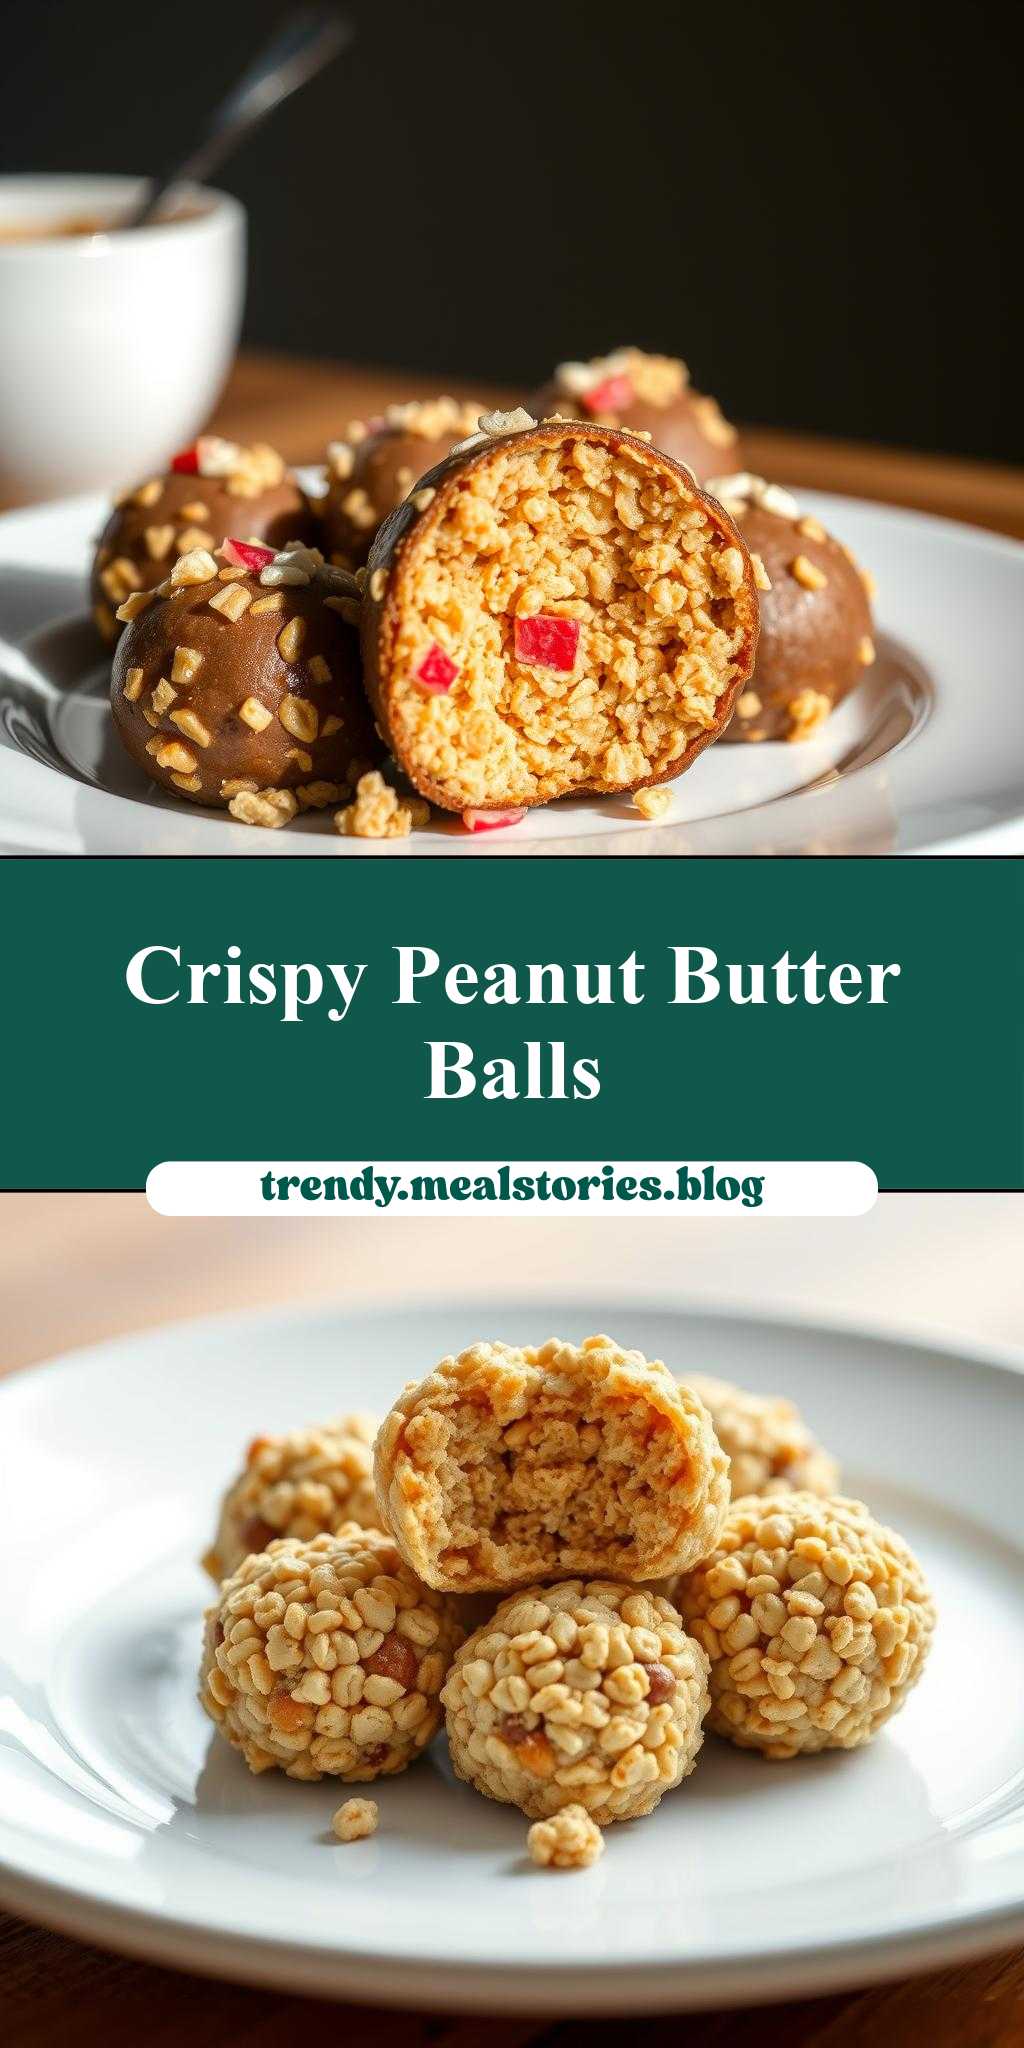
The main ingredients for this recipe include creamy peanut butter, powdered sugar, Rice Krispies cereal, and chocolate or other desired coatings. For those looking for substitutions, almond butter or cashew butter can be used in place of peanut butter for a different flavor profile. Additionally, other types of cereal can be experimented with, though Rice Krispies provides a unique crunch that complements the peanut butter well. Practical substitutions and variations can help tailor the recipe to individual tastes and dietary needs.
Instructions
- Step 1: Begin by preparing your ingredients. In a large mixing bowl, combine 2 cups of creamy peanut butter and 1 cup of powdered sugar. Mix until smooth and creamy. This step is crucial as it sets the base flavor of your peanut butter balls.
- Step 2: Gradually add 2 cups of Rice Krispies cereal to the peanut butter mixture. Mix until the cereal is evenly distributed and the mixture is well combined. This step requires a bit of patience but ensures that each peanut butter ball has the perfect amount of crunch.
- Step 3: Use your hands to shape the mixture into small balls, about 1 inch in diameter. You should end up with around 20-25 balls, depending on the size. Place the balls on a baking sheet lined with parchment paper.
- Step 4: For the final touches, melt 1 cup of chocolate chips in a double boiler or in the microwave in 30-second increments, stirring between each interval until smooth. Dip each peanut butter ball into the melted chocolate, using a fork to fully coat the ball. Tap off any excess chocolate by gently tapping the fork against the side of the bowl. Place the chocolate-covered peanut butter balls back on the parchment-lined baking sheet. Refrigerate for at least 30 minutes to allow the chocolate to set.
Handy Tips
- When mixing the peanut butter and powdered sugar, ensure you mix until the combination is smooth and free of lumps. This will make the peanut butter balls easier to shape and give them a better texture.
- Experiment with different types of chocolate for the coating, such as white chocolate, dark chocolate, or milk chocolate, to find your favorite flavor combination.
- Consider adding a pinch of salt to balance the sweetness of the peanut butter and chocolate. This can enhance the overall flavor of the peanut butter balls.
Heat Control
Since this recipe involves melting chocolate, it’s essential to control the heat to avoid burning the chocolate. When melting chocolate in the microwave, it’s better to heat it in short intervals and stir between each heating to ensure even melting and to prevent the chocolate from seizing up or becoming too hot. If using a double boiler, keep the water at a simmer and ensure the bowl with chocolate is not touching the water to prevent overheating.
Crunch Factor
The crunch factor in these peanut butter balls comes from the Rice Krispies cereal. To maintain the crunch, it’s crucial not to overmix the peanut butter and cereal mixture. Also, chilling the shaped peanut butter balls before coating them with chocolate helps the cereal retain some of its crunch. If you prefer a softer texture, you can chill the peanut butter balls for a shorter time or skip chilling them altogether before coating with chocolate.
Pro Kitchen Tricks
- For a more polished look, after the chocolate has set, you can drizzle the peanut butter balls with melted white chocolate or sprinkle with chopped nuts for added texture and visual appeal.
- To make the process of coating the peanut butter balls with chocolate easier, insert a fork into each ball before dipping it into the chocolate. This allows for better control and less mess.
- Consider using a candy thermometer when melting chocolate to ensure it reaches the ideal temperature for coating, which is between 86°F and 90°F (30°C to 32°C) for dark chocolate and slightly higher for milk and white chocolate.
Storage Tips
- Store the peanut butter balls in an airtight container in the refrigerator for up to 5 days. This will help maintain their freshness and prevent the chocolate from becoming too soft.
- For longer storage, consider freezing the peanut butter balls. Place them in a single layer in a freezer-safe bag or container and store in the freezer for up to 2 months. When you’re ready to serve, simply thaw at room temperature or in the refrigerator.
- When storing, it’s a good idea to place parchment paper or wax paper between layers of peanut butter balls to prevent them from sticking together.
Gift Packaging Ideas
These peanut butter balls are perfect for gifting, especially during holidays or as a thoughtful gesture. Consider packaging them in decorative jars, gift tins, or even small cellophane bags tied with a ribbon. For a more personalized touch, you can include a handwritten note or a small gift card. If you’re gifting them during Christmas, you might package them in a festive holiday tin or bag. For other occasions, a simple yet elegant jar or box will suffice.
Flavor Variations
- Different spices: Add a pinch of cinnamon, nutmeg, or cayenne pepper to the peanut butter mixture for a unique twist.
- Creative toppings: Instead of just chocolate, top your peanut butter balls with chopped nuts, shredded coconut, or even candy pieces for added texture and flavor.
- Ingredient swaps: Replace peanut butter with another nut butter like almond or cashew butter for a different flavor profile. You can also experiment with different types of cereal for varying textures.
Troubleshooting
- Texture problems: If your peanut butter balls are too sticky, you might need to add a bit more powdered sugar. If they’re too dry, a small amount of peanut butter can be added to moisten the mixture.
- Ingredient replacements: Always consider the flavor and texture you’re aiming for when substituting ingredients. For example, if replacing peanut butter with almond butter, note that almond butter can be slightly oilier and may require adjustments in the amount of powdered sugar used.
- Over/undercooking signs: Since this recipe doesn’t involve baking, the primary concern is the melting of the chocolate. Overheated chocolate can become too thin and lose its gloss, while underheated chocolate may not coat the peanut butter balls smoothly.
FAQs
- Can I freeze it? Yes, you can freeze the peanut butter balls for up to 2 months. Simply place them in a freezer-safe bag or container and store in the freezer.
- Is it gluten-free? This recipe is gluten-free, making it a great option for those with gluten intolerance or sensitivity. However, always check the ingredients of your peanut butter and chocolate to ensure they are processed in a gluten-free facility.
- Can I double the recipe? Yes, you can easily double or triple the recipe if you’re making these peanut butter balls for a large group or event. Just be sure to have enough chocolate for coating and adjust your chilling time slightly if necessary.
Conclusion
Making Peanut Butter Balls with Rice Krispies is a fun and rewarding experience that yields delicious results with minimal effort. Whether you’re looking for a quick dessert, a fun activity with the kids, or a thoughtful gift, this recipe has you covered. Don’t be afraid to experiment with different flavors and toppings to make the recipe your own, and enjoy the process of creating something special with everyday ingredients. With its perfect blend of peanut butter, crunch from the Rice Krispies, and the indulgence of chocolate, these bite-sized treats are sure to become a favorite in your household.