What makes a perfect layer cake? Rich chocolate and creamy green frosting come together in this stunning homemade dessert, featuring moist layers and a smooth frosting finish, made easy with simple ingredients like high-quality cocoa powder, save this idea for your next special occasion bake.
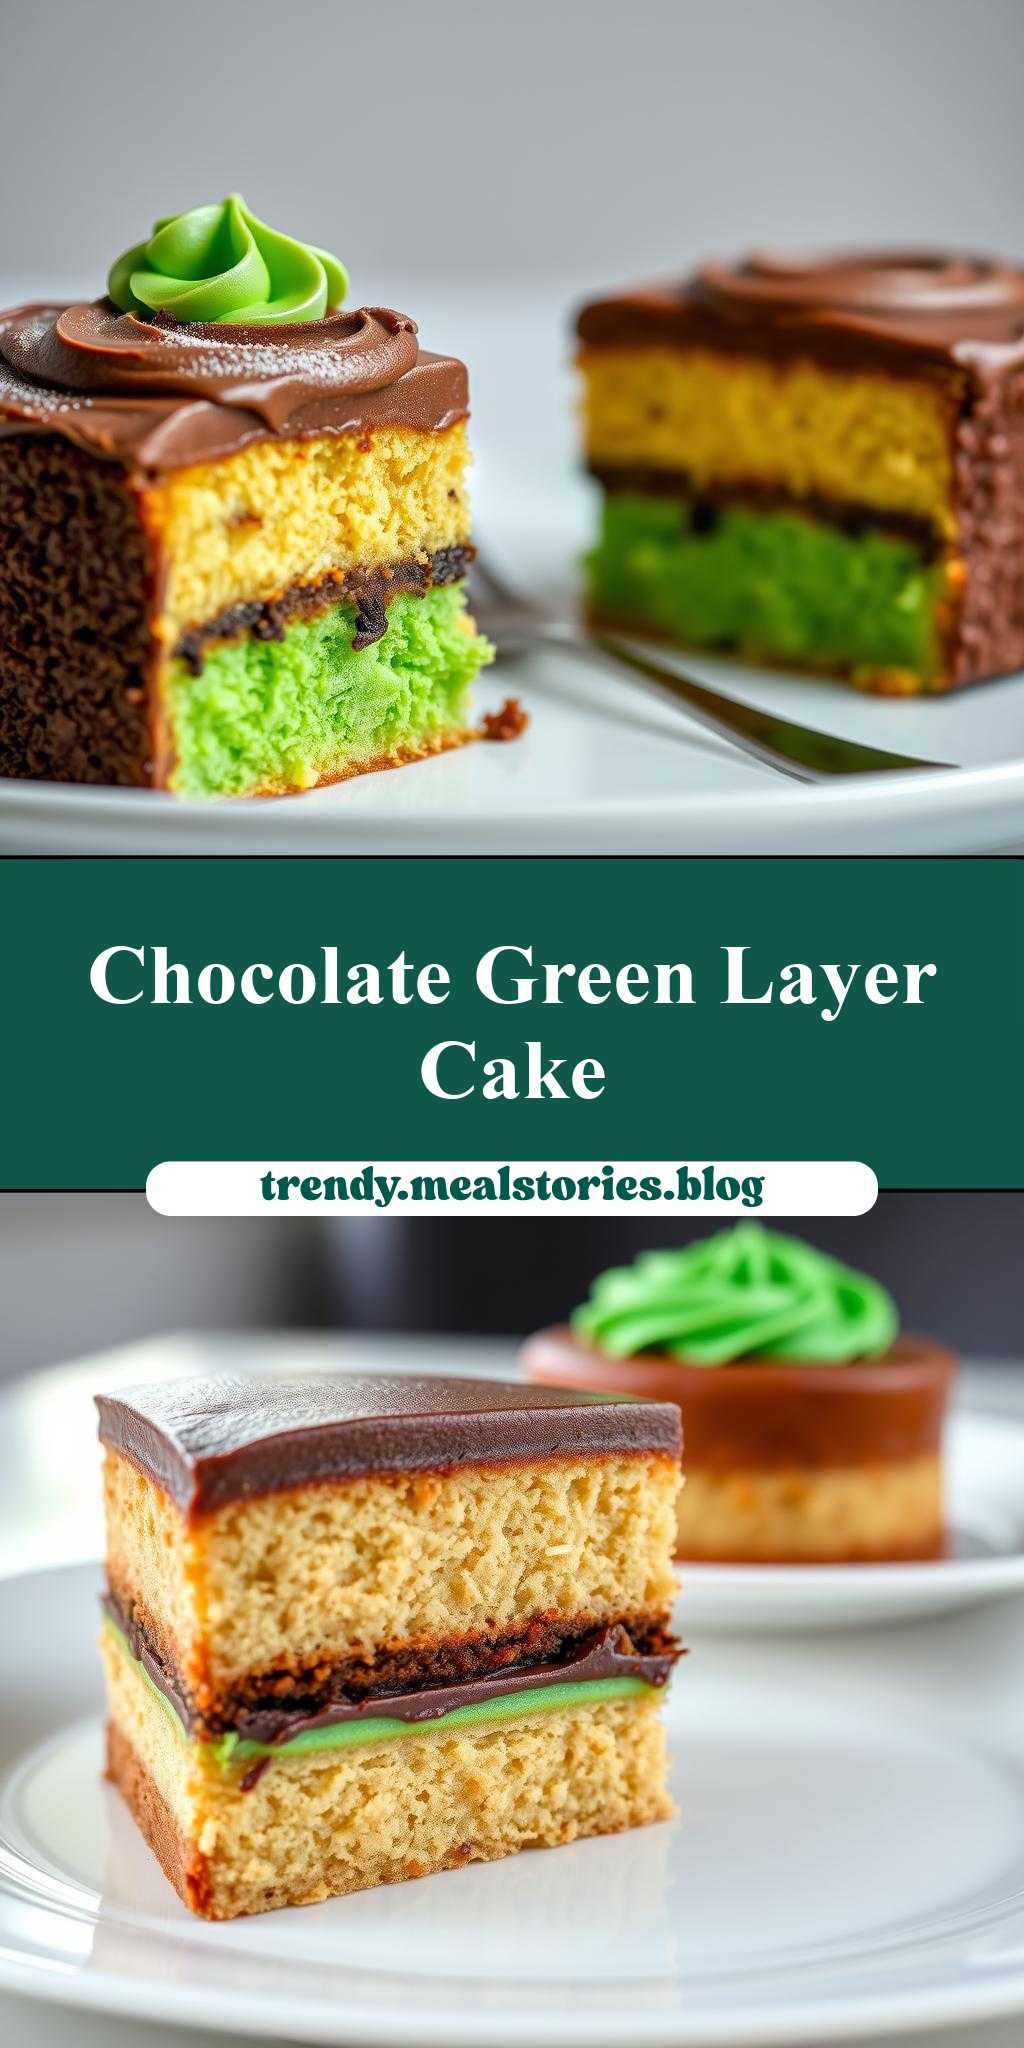
two pictures of a cake with chocolate and green frosting on it, one has the same layer as the other
Introduction
Imagine a cake that is not only visually stunning but also a masterpiece of flavors and textures. The “two pictures of a cake with chocolate and green frosting on it, one has the same layer as the other” is more than just a dessert; it’s an experience. With its rich, velvety chocolate cake layers and the vibrant, creamy green frosting, this cake is sure to impress both kids and adults alike. What makes this cake truly special is its accessibility – using everyday ingredients and requiring minimal effort for such an impressive outcome. Whether you’re a seasoned baker or just starting out, this recipe is perfect for anyone looking to create something extraordinary with ease.
Why This Works
- Flavor balance and ingredient accessibility: The combination of deep, dark chocolate and the freshness of green frosting creates a perfect balance of flavors. Moreover, the ingredients used are easily available in most supermarkets, making it convenient for anyone to try this recipe.
- Ease of preparation: Despite its impressive appearance, this cake is surprisingly easy to prepare. The steps are straightforward, and the ingredients are simple to work with, even for those who are new to baking.
- Impressive results with minimal effort: What’s most appealing about this recipe is the contrast between the effort you put in and the outcome. With just a few hours of preparation and baking, you can create a cake that looks like it was made by a professional pastry chef.
Key Ingredients
To make this stunning cake, you’ll need a few key ingredients. For the cake itself, you’ll need all-purpose flour, granulated sugar, unsweetened cocoa powder, baking powder, salt, large eggs, milk, and vegetable oil. For the green frosting, you’ll need unsalted butter, cream cheese, powdered sugar, vanilla extract, and green food coloring. Practical substitutions can be made for some ingredients, such as using almond milk instead of regular milk for a dairy-free option or using different types of sugar for varying flavors.
Instructions
- Step 1: Begin by preheating your oven to 350°F (175°C). Prepare your cake pans by greasing them and lining the bottoms with parchment paper. In a medium bowl, whisk together flour, sugar, cocoa powder, baking powder, and salt. In a large bowl, whisk together eggs, milk, and oil. Gradually add the dry ingredients to the wet ingredients, whisking until smooth.
- Step 2: Divide the batter evenly between the prepared pans and smooth the tops. Bake for about 30-35 minutes or until a toothpick inserted in the center comes out clean. Let the cakes cool in the pans for 10 minutes before transferring them to a wire rack to cool completely.
- Step 3: For the frosting, beat the butter and cream cheese until smooth. Gradually add the powdered sugar, beating until smooth and creamy. Add the vanilla extract and mix well. Divide the frosting into two portions and add green food coloring to one portion to achieve the desired color.
- Step 4: Once the cakes are completely cool, you can start assembling the cake. Place one cake layer on a serving plate and spread a layer of green frosting on top. Place the second cake layer on top and frost the entire cake with the remaining white frosting. Use the colored frosting to create designs or patterns on top of the cake.
Handy Tips
- To ensure your cake layers are even, make sure to level them after they have cooled. You can use a cake leveler or a serrated knife to do this.
- For a stronger chocolate flavor, you can use dark cocoa powder or add a teaspoon of instant coffee powder to the batter.
- When coloring the frosting, start with a small amount of food coloring and add more as needed, until you achieve the desired shade of green.
Heat Control
Heat control is crucial when baking the cake layers. The ideal temperature is 350°F (175°C), and it’s essential to not overbake. Check the cakes after 25 minutes and then every 5 minutes thereafter. The cakes are done when a toothpick inserted into the center comes out clean. If you’re unsure, it’s better to err on the side of underbaking than overbaking, as the cakes will continue to cook a little after they’re removed from the oven.
Crunch Factor
The texture of this cake is moist and tender, thanks to the oil and milk in the batter. To achieve this, make sure not to overmix the batter, and don’t overbake the cakes. If you want to add a crunch factor, you could sprinkle some chopped nuts or chocolate chips on top of the frosting before it sets.
Pro Kitchen Tricks
- To make the cake more stable and easier to frost, you can insert a dowel or a long skewer through the center of the cake layers before frosting.
- For a smooth frosting, make sure all the ingredients are at room temperature before beating them together.
- If you find that your frosting is too thin, you can refrigerate it for about 10 minutes to firm it up before using it.
Storage Tips
- The cake can be stored at room temperature for up to 3 days. Make sure it’s covered with plastic wrap or aluminum foil to keep it fresh.
- For longer storage, you can refrigerate the cake for up to 5 days. Let it come to room temperature before serving.
- If you want to freeze the cake, it’s best to freeze the layers separately before frosting. Wrap each layer tightly in plastic wrap and then in aluminum foil. Frozen cake layers can be stored for up to 2 months. Thaw at room temperature or refrigerate overnight before frosting and serving.
Gift Packaging Ideas
This cake makes a wonderful gift for any occasion. To package it nicely, you can place the cake on a decorative cake stand or a large plate, and cover it with a clear plastic dome or wrap it in cellophane. You can also add a personal touch by tying a ribbon around the base of the cake stand or attaching a gift card with a message. For a more rustic look, you can place slices of the cake in decorative jars or boxes and tie them with twine or ribbon.
Flavor Variations
- Different spices: You can add a pinch of salt or a teaspoon of cinnamon to the batter for a unique flavor twist.
- Creative toppings: Consider topping your cake with fresh fruits, nuts, or even candy pieces for added texture and flavor.
- Ingredient swaps: You can substitute the all-purpose flour with almond flour for a gluten-free option or use coconut sugar instead of granulated sugar for a different flavor profile.
Troubleshooting
- Texture problems: If your cake turns out too dense, it might be due to overmixing the batter. Try mixing the ingredients just until they come together for a lighter texture.
- Ingredient replacements: If you’re missing an ingredient, try to find a substitute. For example, you can use applesauce instead of oil for added moisture.
- Over/undercooking signs: Keep an eye on your cakes while they’re baking. If they’re done too soon, they might be undercooked. If they’re overcooked, they might be dry. Adjust the baking time as needed for the best results.
FAQs
- Can I freeze it? Yes, you can freeze the cake layers before frosting for up to 2 months. Thaw and frost as desired.
- Is it gluten-free? The original recipe is not gluten-free, but you can make it gluten-free by substituting the all-purpose flour with a gluten-free flour blend.
- Can I double the recipe? Yes, you can double the recipe to make a larger cake. Just keep in mind that you’ll need to adjust the baking time accordingly.
Conclusion
Making the “two pictures of a cake with chocolate and green frosting on it, one has the same layer as the other” is a fun and rewarding baking experience. With its unique appearance and delicious flavor combination, this cake is sure to be a hit at any gathering. Don’t be afraid to experiment with different flavors and toppings to make the recipe your own. Whether you’re baking for a special occasion or just because, this cake is a great way to show your loved ones that you care. So go ahead, get baking, and enjoy the process of creating something truly special!
two pictures of a cake with chocolate and green frosting on it, one has the same layer as the other
A rich, velvety chocolate cake with vibrant green frosting, perfect for any occasion.
🥘 Ingredients
👩🍳 Instructions
-
1Preheat the oven to 350°F (175°C). Prepare two 9-inch round cake pans by greasing them and lining the bottoms with parchment paper.
-
2In a medium bowl, whisk together flour, sugar, cocoa powder, baking powder, and salt. In a large bowl, whisk together eggs, milk, and oil. Gradually add the dry ingredients to the wet ingredients, whisking until smooth.
-
3Divide the batter evenly between the prepared pans and smooth the tops. Bake for about 30-35 minutes or until a toothpick inserted in the center comes out clean.
-
4For the frosting, beat the butter and cream cheese until smooth. Gradually add the powdered sugar, beating until smooth and creamy. Add the vanilla extract and mix well. Divide the frosting into two portions and add green food coloring to one portion to achieve the desired color.
-
5Once the cakes are completely cool, assemble the cake by placing one cake layer on a serving plate, spreading a layer of green frosting on top, and then placing the second cake layer on top. Frost the entire cake with the remaining white frosting and decorate as desired.