What makes the perfect cookie truly unforgettable? For me, it’s the combination of a chewy center and a crunchy edge, like in these Biscoff stuffed NYC cookies, made with rich brown sugar and a hint of cinnamon for an easy homemade treat, save this idea for your next family favorite dessert.
Biscoff Stuffed NYC Cookies
Introduction
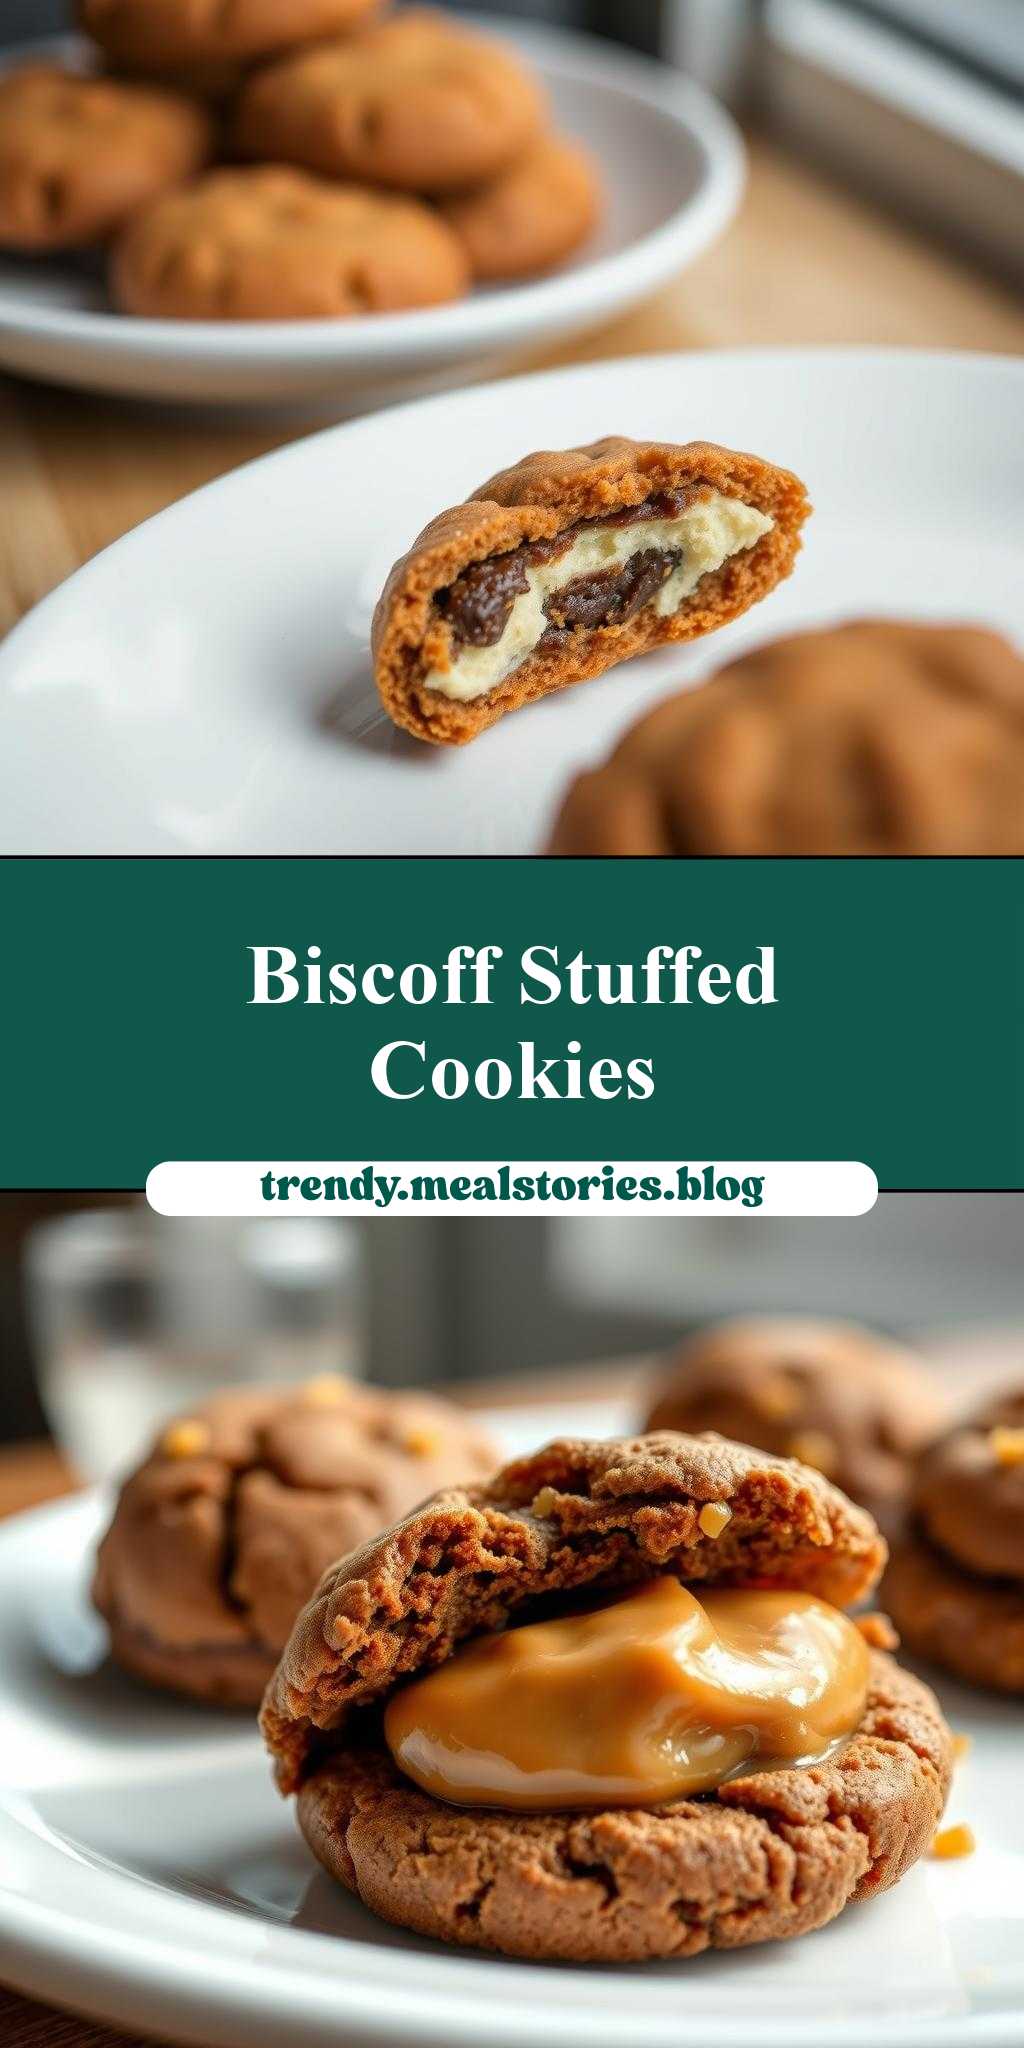
Imagine the perfect blend of crunch, chew, and a surprise burst of flavor in every bite – that’s what you get with Biscoff Stuffed NYC Cookies. These cookies are a creative twist on the classic New York-style cookie, elevated by the rich, caramel-like flavor of Biscoff spread. What makes this recipe stand out is its ease, flavor, and the use of everyday ingredients that come together to create something truly special. Whether you’re a seasoned baker or just starting out, this recipe is accessible and promises to impress with minimal effort.
Why This Works
- Flavor balance and ingredient accessibility: The combination of Biscoff spread with traditional cookie ingredients creates a unique taste experience that’s both familiar and exciting. The ingredients are easily found in most supermarkets, making it simple to get started.
- Ease of preparation: Despite the impressive results, the cookies are surprisingly easy to make. The steps are straightforward, and the dough comes together quickly, making it a great project for any day of the week.
- Impressive results with minimal effort: The Biscoff stuffing adds a delightful surprise to each cookie, making them perfect for special occasions or as a treat any time you want to indulge in something a bit more decadent.
Key Ingredients
The main ingredients include all-purpose flour, baking soda, salt, unsalted butter, white and brown sugar, large eggs, vanilla extract, and of course, Biscoff spread for the stuffing. For practical substitutions, you can use salted butter and omit additional salt, or adjust the sugar levels to your taste. The Biscoff spread is what gives these cookies their distinctive flavor, but you could experiment with other cookie butters for variations.
Instructions
- Step 1: Begin by preheating your oven to 375°F (190°C). Line a baking sheet with parchment paper or a silicone mat. In a medium bowl, whisk together the flour, baking soda, and salt. Set aside.
- Step 2: In a large bowl, use an electric mixer to cream together the butter and sugars until light and fluffy, about 2-3 minutes. Beat in the eggs one at a time, followed by the vanilla extract.
- Step 3: Gradually mix in the dry ingredients until just combined, being careful not to overmix. Wrap the dough in plastic wrap and refrigerate for at least 30 minutes to allow the flavors to meld and the dough to firm up.
- Step 4: Once the dough is chilled, scoop out balls of dough, about 1 tablespoon each. Flatten each ball slightly into a disk shape. Place a small spoonful of Biscoff spread in the center of each disk. Fold the dough over the filling, pressing the edges together to seal the cookie. Place the stuffed cookies onto the prepared baking sheet, leaving about 2 inches of space between each cookie.
Handy Tips
- Make sure to chill the dough to help the cookies retain their shape and bake up with a better texture. If you find the dough too sticky, you can add a little more flour. Conversely, if it’s too dry, you can add a small amount of water.
Heat Control
Bake the cookies for 12-15 minutes, or until they are lightly golden brown on the edges and set in the center. Keep an eye on them, as the baking time may vary depending on your oven and the size of your cookies. They should be soft to the touch but not squishy.
Crunch Factor
These cookies have a delightful crunch on the outside and chew on the inside, thanks to the baking time and the Biscoff center. To achieve this perfect texture, avoid overbaking. If you prefer a crisper cookie, you can bake them for an additional 2-3 minutes, but be cautious not to overdo it.
Pro Kitchen Tricks
- For an extra crunchy exterior, try chilling the shaped cookies on the baking sheet in the freezer for 10 minutes before baking. This will help them retain their shape and bake up with a nicer texture.
Storage Tips
- Store the cookies in an airtight container at room temperature for up to 5 days. For longer storage, you can freeze the cookies for up to 2 months. Simply thaw at room temperature or reheat in the microwave for a few seconds.
Gift Packaging Ideas
These cookies make a wonderful gift, especially when packaged in decorative tins or jars. Consider adding a ribbon around the jar and including a gift tag with the ingredients used, in case of any dietary restrictions. You could also pair the cookies with a packet of gourmet coffee or tea for a complete gift set.
Flavor Variations
- Different spices: Add a pinch of cinnamon, nutmeg, or cardamom to the dough for a unique twist.
- Creative toppings: Press a few chocolate chips, chopped nuts, or sprinkles into the top of each cookie before baking for added flavor and texture.
- Ingredient swaps: Experiment with different types of sugar or try using coconut oil instead of butter for a dairy-free version.
Troubleshooting
- Texture problems: If your cookies spread too much, they may have been too warm when baked. Try chilling them before baking. If they’re too hard, they might have been overbaked.
- Ingredient replacements: If you’re out of a particular ingredient, refer to the substitutions mentioned earlier. Always consider the flavor and texture the ingredient adds and try to substitute with something similar.
- Over/undercooking signs: Overcooked cookies will be dark golden brown and hard, while undercooked ones will be pale and soft to the touch. Aim for lightly golden brown edges and a set center.
FAQs
- Can I freeze it? Yes, you can freeze the dough balls before baking. Simply place them on a baking sheet lined with parchment paper and put it in the freezer until they’re solid, then transfer them to a freezer-safe bag or container for up to 2 months. Bake frozen cookies for an additional 2-3 minutes.
- Is it gluten-free? The traditional recipe includes all-purpose flour, which contains gluten. However, you can experiment with gluten-free flours to make a version that suits dietary needs.
- Can I double the recipe? Yes, you can easily double or even triple the recipe if you’re making for a larger crowd. Just ensure you have enough baking sheets and space in your oven.
Conclusion
Making Biscoff Stuffed NYC Cookies is a fun and rewarding baking experience that yields deliciously unique treats. With their perfect balance of textures and flavors, they’re sure to become a favorite. Feel free to experiment with the recipe, share your creations, and enjoy the process of baking something special for yourself and others. Happy baking!
Biscoff Stuffed NYC Cookies
A recipe for Biscoff Stuffed NYC Cookies, combining the crunch and chew of a classic NYC cookie with the rich flavor of Biscoff spread.
🥘 Ingredients
👩🍳 Instructions
-
1Preheat oven to 375°F (190°C).
-
2Whisk together flour, baking soda, and salt in a medium bowl.
-
3Cream together butter and sugars, then beat in eggs and vanilla extract.
-
4Gradually mix in the dry ingredients, then chill the dough.
-
5Scoop and flatten dough balls, place a spoonful of Biscoff spread in the center, and seal the cookie.
-
6Bake for 12-15 minutes or until lightly golden brown on the edges and set in the center.