What makes a warm dinner roll irresistible? Fresh from the oven, these classic yeast dinner rolls are a family favorite, made easy with simple ingredients like butter and flour. Perfect for weeknight dinner, save this idea for a homemade treat that’s sure to please, try it soon
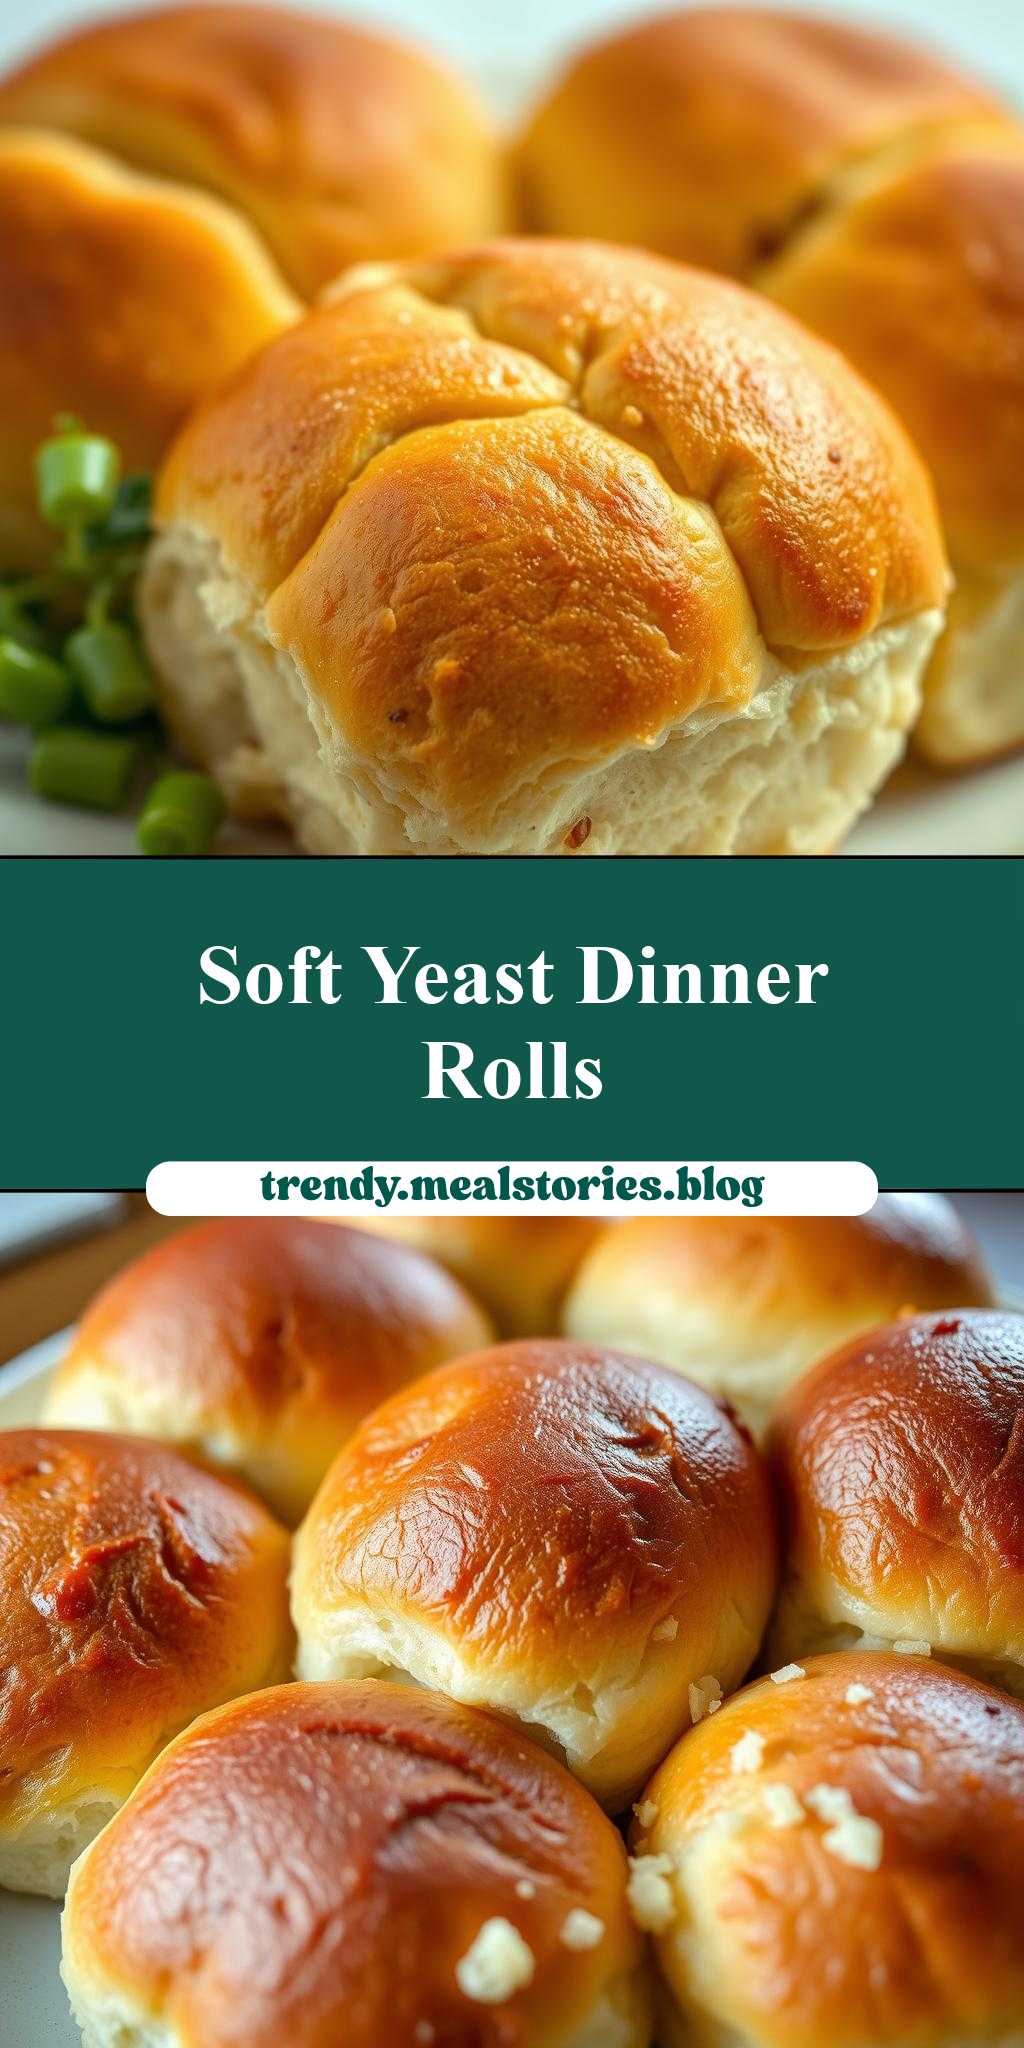
Classic Yeast Dinner Rolls
Introduction
Imagine the aroma of freshly baked bread wafting from your oven, filling your home with warmth and comfort. Classic Yeast Dinner Rolls are a staple in many households, and for good reason. They are incredibly easy to make, requiring only a few everyday ingredients, and yet they offer a depth of flavor and texture that is hard to resist. Whether you’re a seasoned baker or a beginner in the kitchen, these rolls are a perfect way to add a touch of homemade goodness to any meal. In this recipe, we’ll explore the simplicity and creativity of making Classic Yeast Dinner Rolls, using ingredients you likely have on hand, and with a few clever substitutions to make them even more accessible.
Why This Works
- Flavor balance and ingredient accessibility: The combination of yeast, flour, sugar, and salt creates a perfectly balanced flavor profile that is both savory and slightly sweet. Plus, these ingredients are easily found in most kitchens.
- Ease of preparation: Despite involving yeast, which can sometimes intimidate new bakers, these rolls are surprisingly straightforward to prepare. The dough comes together quickly, and the rising time, while necessary, can be used to prepare other parts of your meal.
- Impressive results with minimal effort: There’s something truly impressive about presenting a basket of freshly baked, golden-brown dinner rolls at the table. The effort is minimal compared to the wow factor they bring to any dinner gathering.
Key Ingredients
To make Classic Yeast Dinner Rolls, you’ll need a few basic ingredients. These include warm water, active dry yeast, sugar, all-purpose flour, salt, and unsalted butter, melted. For the egg wash, you’ll need an egg beaten with a little water. If you’re looking for substitutions, consider using whole wheat flour for a nuttier flavor or adding dried herbs like rosemary or thyme to the dough for an extra layer of flavor. Keep in mind, when using yeast, it’s crucial to use lukewarm water (not hot, not cold) to help the yeast activate properly.
Instructions
- Step 1: Begin by activating your yeast. In a large mixing bowl, combine the warm water, yeast, and a teaspoon of sugar. Let it sit for about 5-10 minutes until the mixture becomes frothy, indicating the yeast is active.
- Step 2: Add the flour, salt, and the rest of the sugar to the bowl. Mix until a shaggy dough forms, then add the melted butter. Using a stand mixer with a dough hook attachment or by hand, knead the dough for about 10 minutes, until it becomes smooth and elastic.
- Step 3: Place the dough in a greased bowl, cover it with plastic wrap or a damp towel, and let it rise in a warm, draft-free place for about an hour, or until it has doubled in size. Once risen, punch down the dough and divide it into 8-10 equal pieces. Roll each piece into a ball and then flatten slightly into a disk shape. Place the rolls in a greased 9×13 inch baking dish, leaving about 1 inch of space between each roll. Cover and let rise for another 30-45 minutes, or until they have puffed up slightly.
- Step 4: Preheat your oven to 375°F (190°C). Brush the tops of the rolls with an egg wash (beaten egg mixed with a little water) and bake for 15-20 minutes, or until the rolls are golden brown. Remove from the oven and let cool for a few minutes before serving.
Handy Tips
- Ensure your ingredients, especially the yeast, are fresh for the best results. Old yeast may not activate properly, leading to rolls that don’t rise well.
- Don’t overmix the dough, as this can lead to tough rolls. Mix just until the ingredients come together, then let the kneading process develop the gluten in the dough.
- For an extra crispy crust, try baking the rolls for an additional 2-3 minutes. Keep an eye on them to prevent burning.
Heat Control
When it comes to baking the rolls, maintaining the right oven temperature is crucial. Your oven should be preheated to 375°F (190°C). It’s also important to not overbake. The rolls are done when they are golden brown and sound hollow when tapped on the bottom. If you’re unsure, it’s better to err on the side of underbaking slightly, as the rolls will continue to cook a bit after being removed from the oven.
Crunch Factor
The perfect Classic Yeast Dinner Roll should have a soft, airy interior and a lightly crispy crust. To achieve this, make sure not to overbake, and consider brushing the tops with a little bit of butter as soon as they come out of the oven. This will enhance the flavor and give the rolls a tender, slightly glazed top.
Pro Kitchen Tricks
- Use a stand mixer: If you have a stand mixer, use it with a dough hook attachment to knead the dough. This saves time and effort, and does a superior job of developing the gluten in the dough.
- Let the dough rest: After punching down the dough, let it rest for a few minutes before shaping the rolls. This allows the gluten to relax, making the dough easier to shape.
- Clean as you go: To avoid a big cleanup at the end, wash your bowls and utensils as you finish using them. This makes the baking process more enjoyable and less overwhelming.
Storage Tips
- Leftover rolls can be stored in an airtight container at room temperature for up to 2 days. For longer storage, consider freezing them. Place the cooled rolls in a freezer-safe bag or container and freeze for up to 2 months. To reheat, simply thaw at room temperature or reheat in the microwave or oven until warmed through.
- For the best freshness, it’s recommended to freeze the dough after the first rise, before shaping into rolls. Thaw frozen dough overnight in the fridge, then let it come to room temperature before shaping and proceeding with the recipe.
Gift Packaging Ideas
If you’re considering gifting your Classic Yeast Dinner Rolls, presentation is key. Place freshly baked rolls in a wicker basket or a decorative tin, lined with a clean towel or parchment paper. You can also wrap individual rolls in paper bags or wrap them in plastic wrap and then in a decorative paper bag. Adding a ribbon or a handwritten note can make the gift even more special and personal.
Flavor Variations
- Different spices: Try adding a pinch of dried herbs like thyme, rosemary, or oregano to the dough for a savory twist. For a sweet version, add a bit of cinnamon or nutmeg.
- Creative toppings: Before baking, brush the tops with egg wash and sprinkle with sesame seeds, poppy seeds, or grated cheese for added flavor and texture.
- Ingredient swaps: For a dairy-free version, use a non-dairy butter substitute. You can also experiment with different types of flour, like whole wheat or rye, for a nuttier flavor.
Troubleshooting
- Texture problems: If your rolls turn out too dense, it might be because the dough was overmixed or the yeast was old. If they’re too airy, the dough might have over-risen.
- Ingredient replacements: If you’re out of a particular ingredient, don’t be afraid to substitute. Just remember, substitutions can affect the final flavor and texture of your rolls.
- Over/undercooking signs: Keep an eye on your rolls while they’re baking. They should be golden brown and sound hollow when tapped. If they’re pale, they might not be done, and if they’re too dark, they might be overcooked.
FAQs
- Can I freeze it? Yes, you can freeze the dough after the first rise or freeze the baked rolls. See the storage tips section for more details.
- Is it gluten-free? No, this recipe uses all-purpose flour and is not gluten-free. However, you can experiment with gluten-free flours, keeping in mind that the texture and flavor might be slightly different.
- Can I double the recipe? Yes, you can easily double or even triple this recipe if you’re serving a larger crowd. Just keep in mind that you’ll need to adjust the rising time slightly, as larger batches of dough can take longer to rise.
Conclusion
Making Classic Yeast Dinner Rolls is a rewarding baking experience that combines simplicity with impressive results. With these rolls, you’ll find yourself returning to this recipe time and time again, experimenting with different flavors and toppings to keep things interesting. Whether you’re a beginner looking to build your baking confidence or a seasoned pro seeking a reliable crowd-pleaser, these dinner rolls are sure to become a staple in your kitchen. So go ahead, give them a try, and enjoy the warmth and comfort that freshly baked bread brings to your table.
Classic Yeast Dinner Rolls
A simple recipe for classic yeast dinner rolls that yields soft, airy interiors and lightly crispy crusts, perfect for any meal.
🥘 Ingredients
👩🍳 Instructions
-
1Activate yeast in warm water with a teaspoon of sugar.
-
2Combine flour, salt, and the rest of the sugar in a mixing bowl. Add melted butter and mix until a shaggy dough forms.
-
3Knead the dough for 10 minutes until smooth and elastic. Let it rise in a warm place for about an hour, or until doubled in size.
-
4Punch down the dough, divide into 8-10 equal pieces, shape into balls, and then flatten slightly into disks. Place in a greased 9x13 inch baking dish, cover, and let rise for another 30-45 minutes.
-
5Preheat oven to 375°F (190°C). Brush tops with egg wash and bake for 15-20 minutes, or until golden brown.